Hour of Code
Welcome to the MIT App Inventor Hour of Code!
Are you ready to build your first mobile app with MIT App Inventor?
 In this hour, we will build an app that talks to you!
You first need to set up your computer to be able to run your app, so first click on the "Set up your Computer" tab below and follow the instructions. Then you should continue with the "Talk to Me" tab to make the app.
hAPPy Inventing!
Set up your Computer
Talk To Me
Introduction to Environment
There are two main components to the App Inventor environment: the Designer and the Blocks Editor.
The Designer allows you to add components to your app and lay out what it will look like.

The Blocks Editor allows you to code your app to give it functionality--that is, make it do stuff!
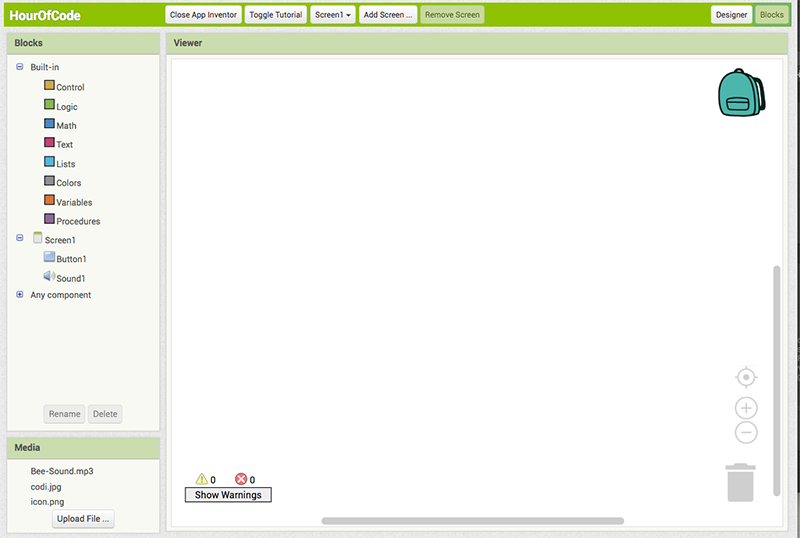
You can toggle between the two screens using the buttons in the top right corner.

Designer Components
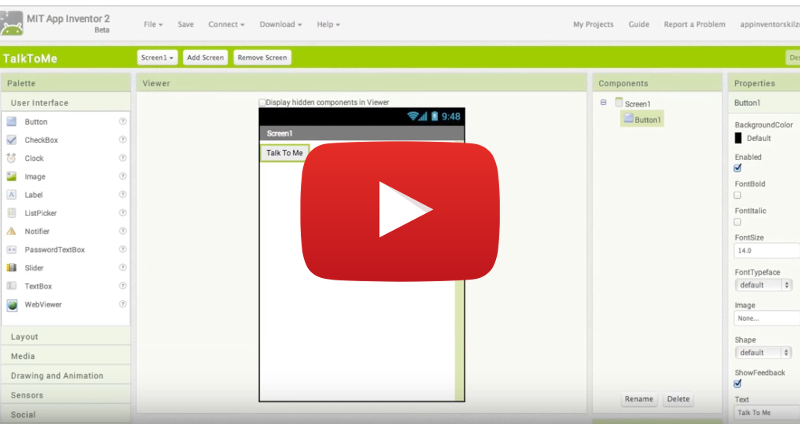
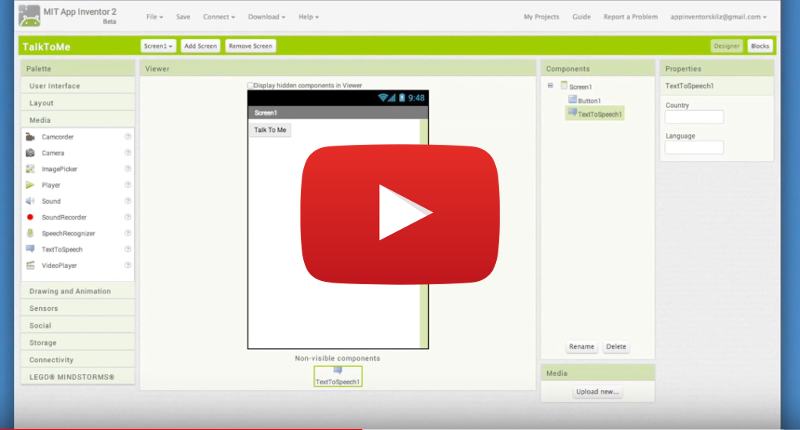
Within the Designer, there are five windows: Palette, Viewer, Components, Media, and Properties.
The Palette is where all available components are. You can drag and drop any component from the Palette into the Viewer.

The Viewer is where you can see what the app will look like and is where you drag components.

The Components window shows all components that have been added to the app. Note that the Screen component is automatically listed as a component.

The Media window shows any uploaded media files, like images and sounds.

Finally, the Properties window allows you to view or change any of the properties (or characteristics) of the currently selected component.

Add a Button
In the designer, add a Button component.
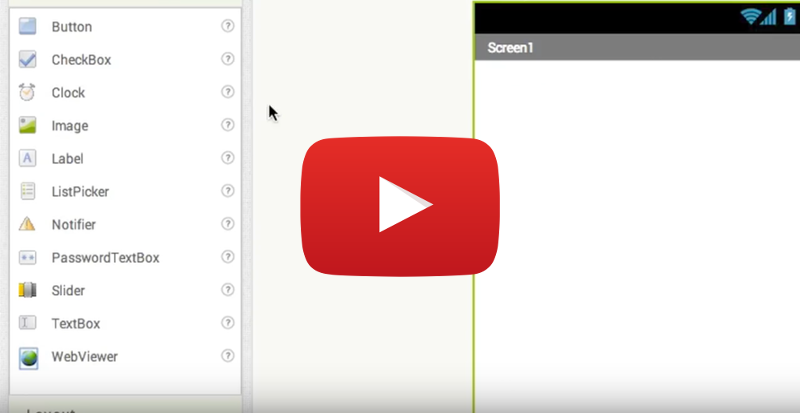
If you have your device connected, or emulator running, you should see your button appear.
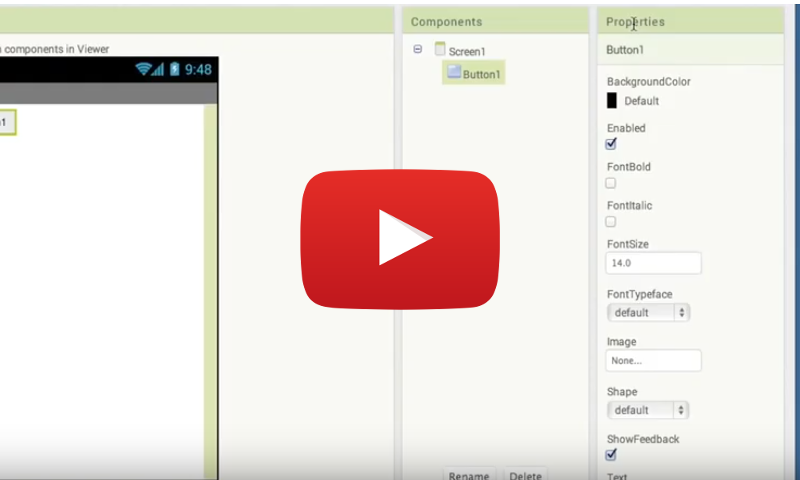
Now change the Text property for Button1 to "Talk to Me".
Add a TextToSpeech component
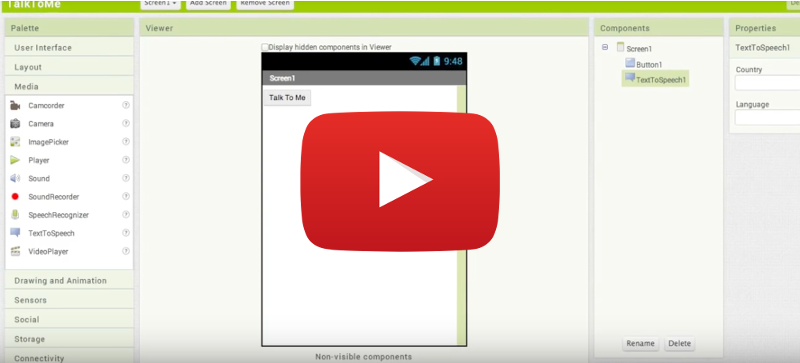
Now add another component, TextToSpeech , which is in the Media drawer.
And that's it for the components! Now switch to the Blocks editor.
Code the Button.Click event
In the Blocks Editor, you will choose Button1, and drag in a Button1.Click event block.
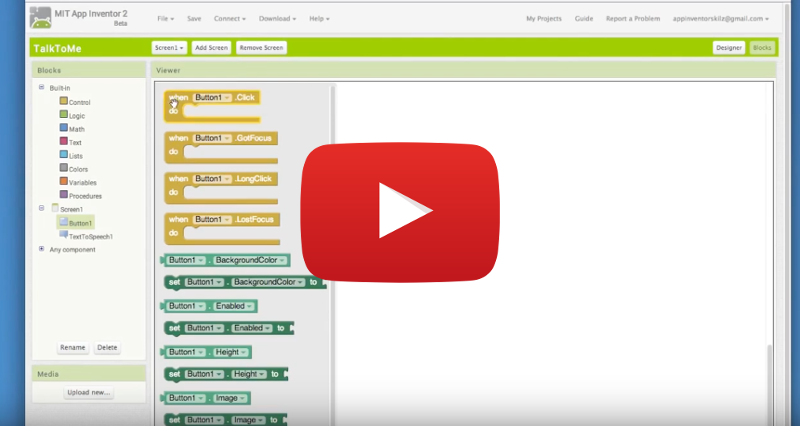
Now drop in a TextToSpeech.Speak block into the Button1.Click event block.

Tell the app what to say
The last part is dragging a text block to the message field to tell the app what to say. From the Text drawer, drag in a blank text block and snap it to the TextToSpeech.Speak block.
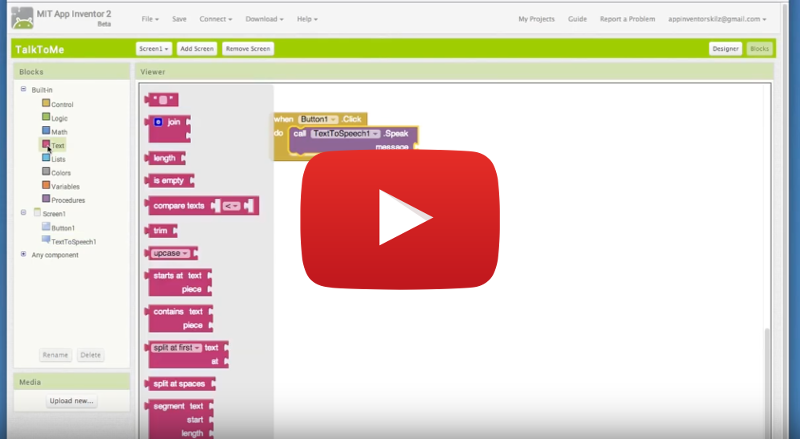
Now change the text block to what you want the app to say. How about "Congratulations, you made your first app!".
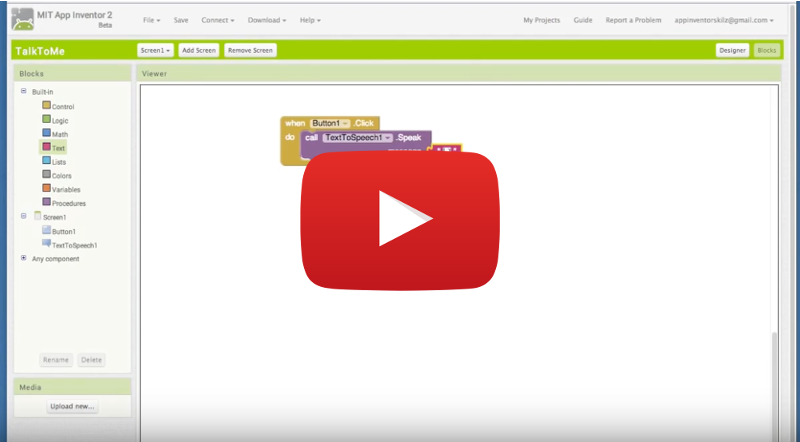
Test your app
Now you can test your app. Let's assume that you have connected your phone or tablet, or have the emulator running in your browser. If you haven't done so, click on the "Set up your Computer" tab above to set up your computer to test your app.
If you are not currently connected, got to the Connect menu and select your chosen method of connection (Companion, emulator, or USB).
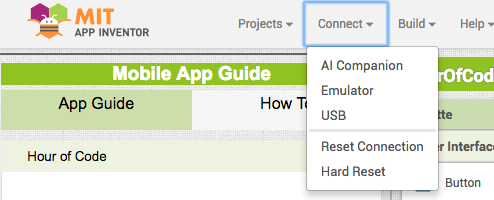
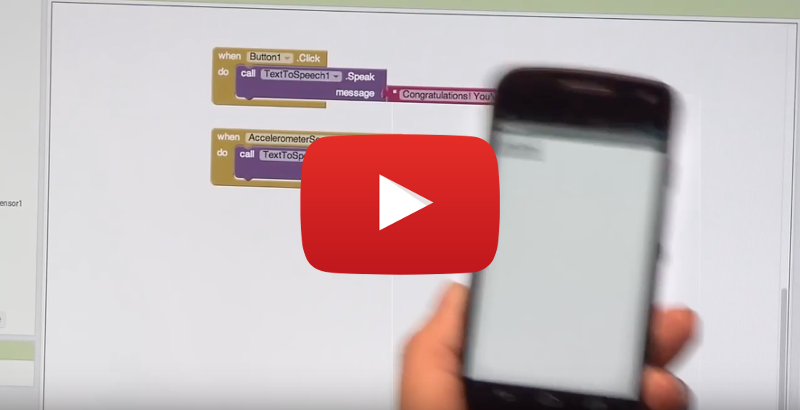
The video shows how it works on a phone, but you can also click the button in the emulator .
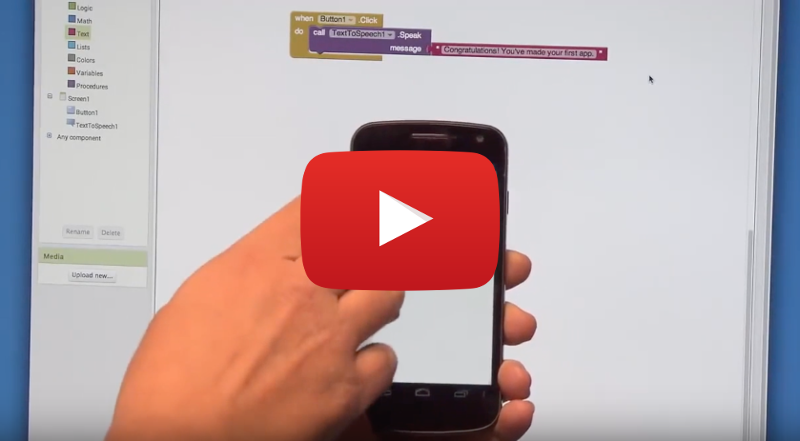
What's next?
Follow the Talk to Me Part 2 tutorial on the next tab to add some more fun features to your app.
You've done a great job on this app! If you want to stop at this point, click here for your Hour of Code certificate!
Talk To Me Part 2
Add the Accelerometer Sensor
Go back to the Designer window, and drag in an Accelerometer component from the Sensors drawer.
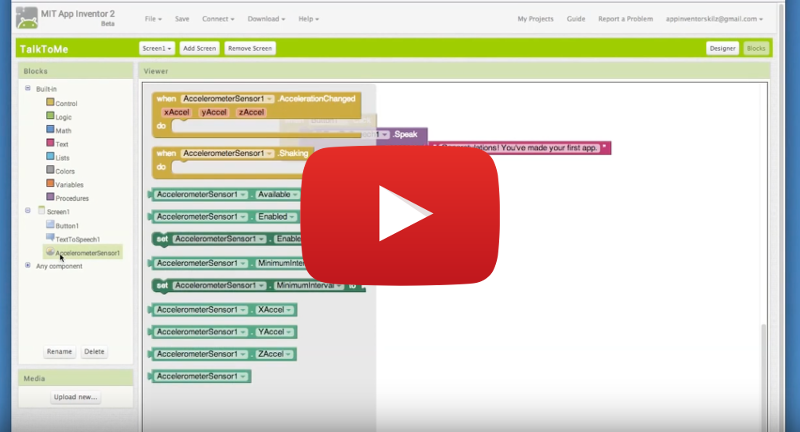
Accelerometer.Shaking block
Back in the Blocks Editor, drag out an Accelerometer1.Shaking block.
Note: If you are working with the emulator, this code will not be able to be tested, because you can't shake your computer!
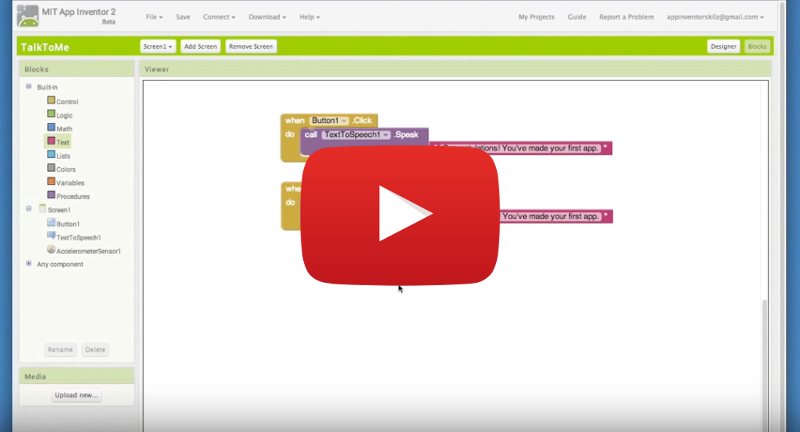
Copy and paste the TextToSpeech.Speak block from the Button1.Click event block, and snap it into the Accelerometer1.Shaking event block.
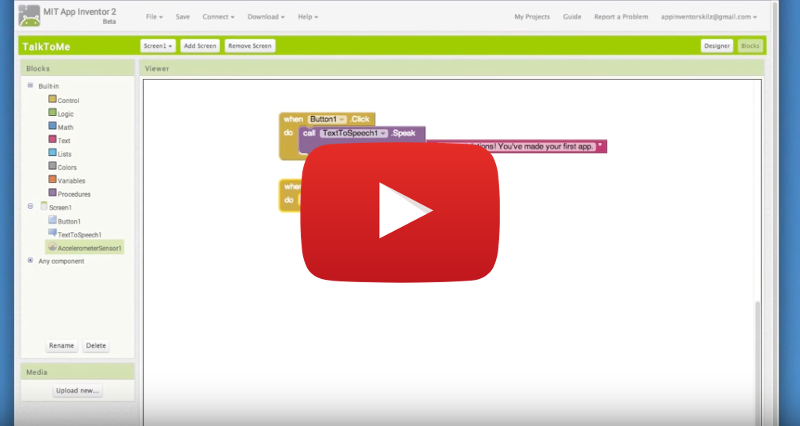
Change the text block to say something different when the phone is shaken. Something like "Stop shaking me!".
Add a TextBox
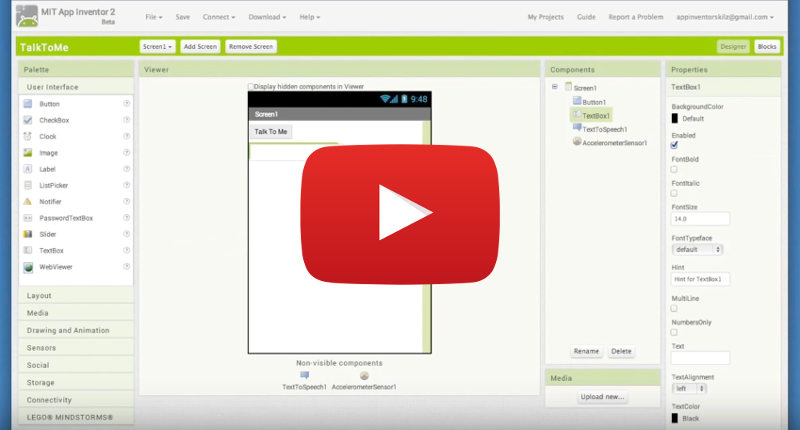
Go back to the Designer, and drag a TextBox into the Viewer. Then move Button1 below the TextBox .
Speak what is in the Textbox
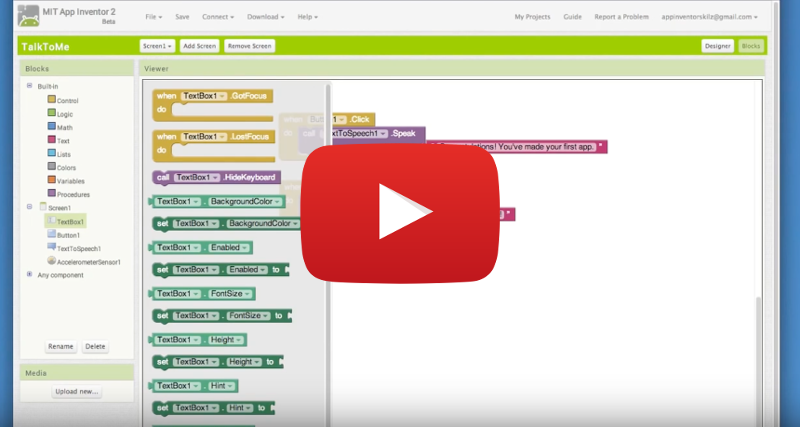
Go back to the Blocks Editor. Then drag out a TextBox1.Text block and replace the "Congratulations" text block in the Button1.Click event block with the new block.
Test the App
Try typing something in the textbox in your app. You can do this whether you are using the Emulator or a phone or tablet.
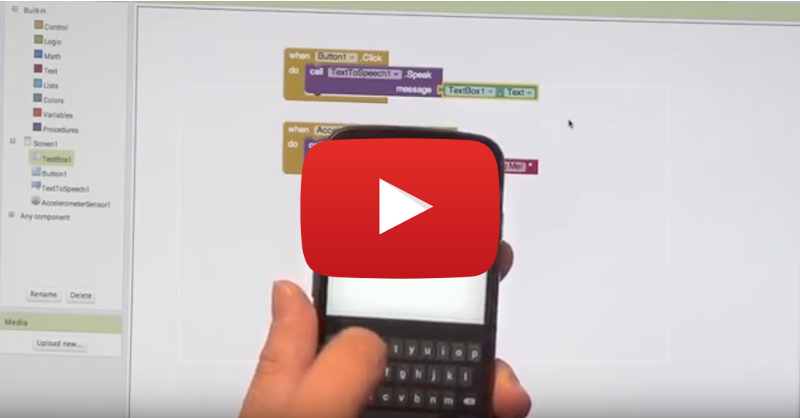
Congratulations! You've built a talking app. You're an App Inventor!
Click here for your Hour of Code certificate!
Expand your app
Add more features to your app!
Now that you've made your Talk to Me app, what else this app could this app do? Here are some ideas for extensions:- Random phrase generator
- Mad Libs - player chooses noun, verb, adjective, adverb, person and it picks one from a list that you program
- Magic 8 Ball App
- Name picker - useful for teachers to call on a student
- You could also play around with the Speech-To-Text component.
Have fun!
