Hour of Code
Welcome to the MIT App Inventor Hour of Code!
Are you ready to build your first mobile app with MIT App Inventor? In this hour, we will build an app that plays a buzzing sound when you click on a picture of Codi the bee.
You first need to set up your computer to be able to run your app, so first click on the "Set up your Computer" tab below and follow the instructions. Then you should continue with the "Hello Codi!" tab to make the app.
hAPPy Inventing!
Set up your Computer
Hello Codi!
Introduction to Environment
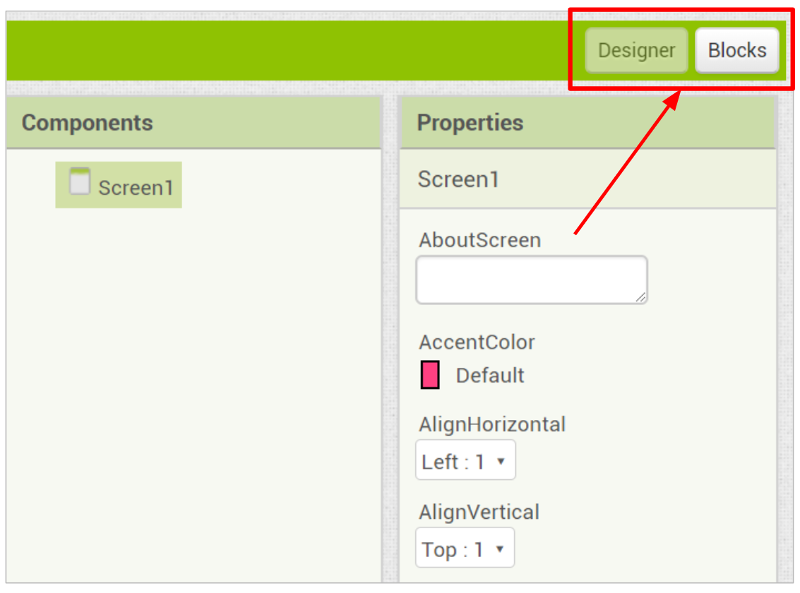
There are two main components to the App Inventor environment: the Designer and the Blocks Editor.
The Designer allows you to add components to your app and lay out what it will look like.
The Blocks Editor allows you to code your app to give it functionality--that is, make it do stuff!
You can toggle between the two screens using the buttons in the top right corner.
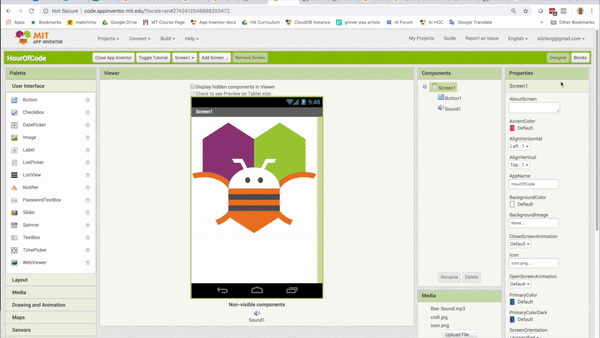
Designer Components
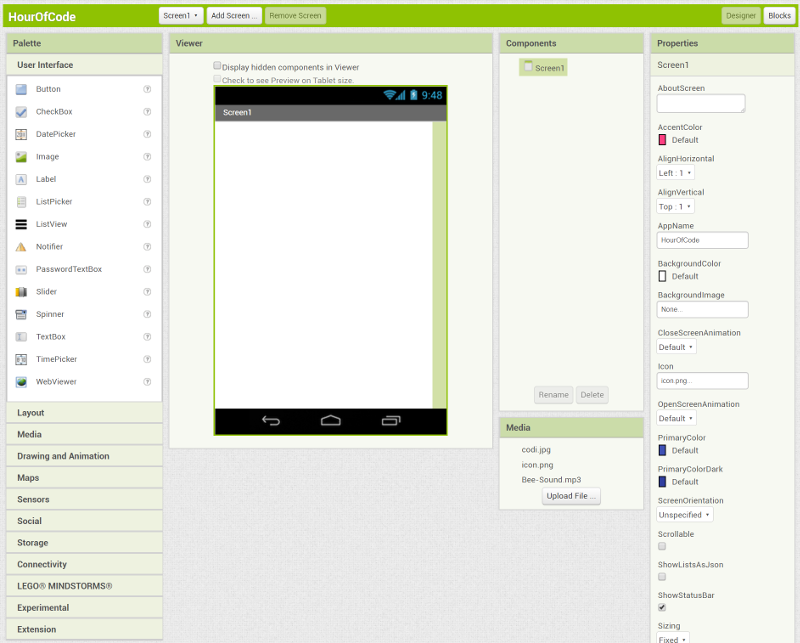
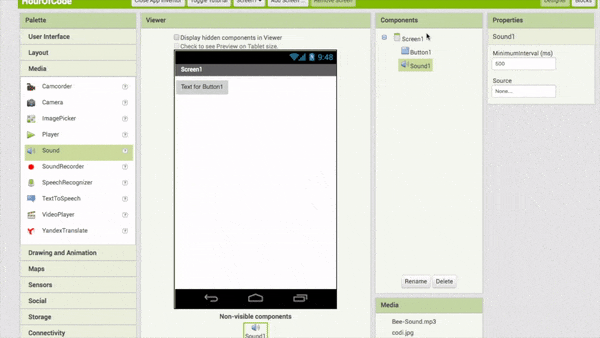
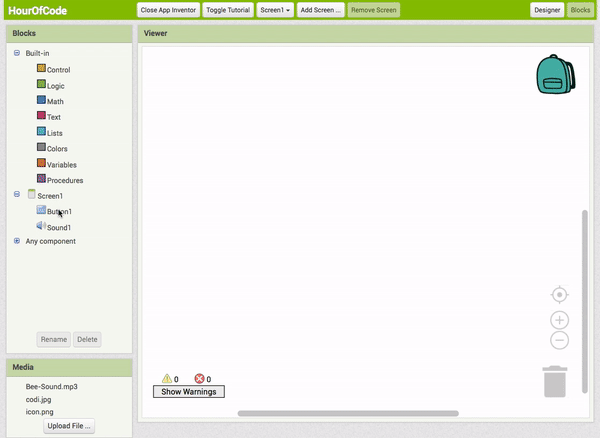
Within the Designer, there are five windows: Palette, Viewer, Components, Media, and Properties.
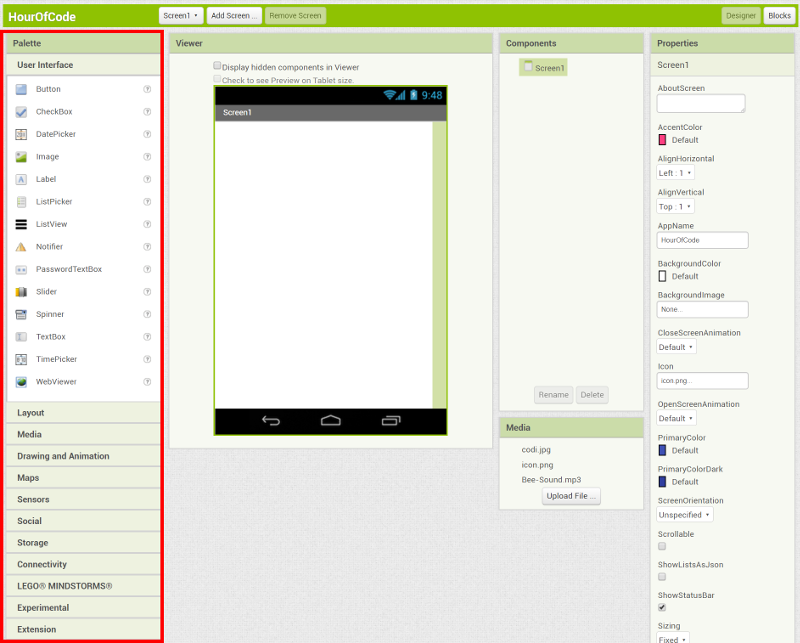
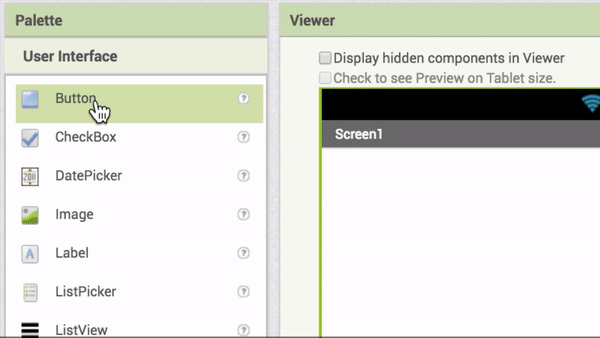
The Palette is where all available components are. You can drag and drop any component from the Palette into the Viewer.
The Viewer is where you can see what the app will look like and is where you drag components.
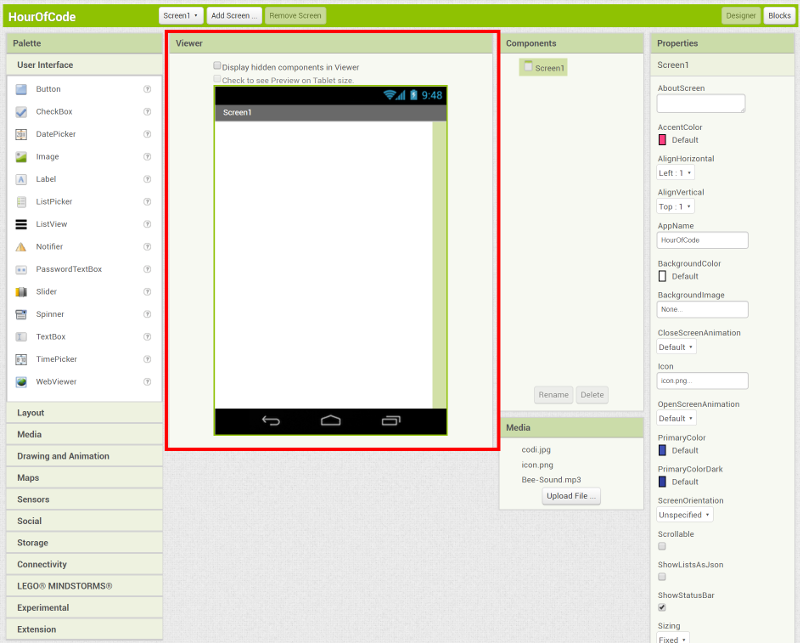
The Components window shows all components that have been added to the app. Note that the Screen component is automatically listed as a component.

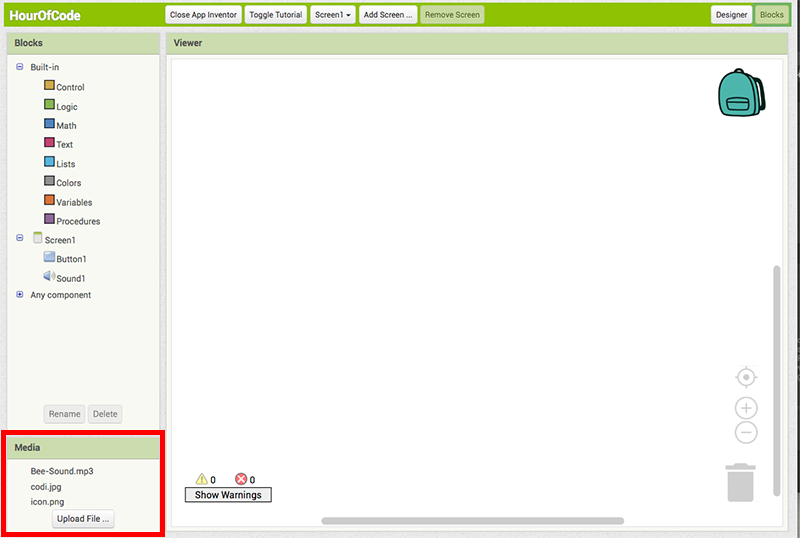
The Media window shows any uploaded media files, like images and sounds. There should be three files already pre-uploaded for this app.
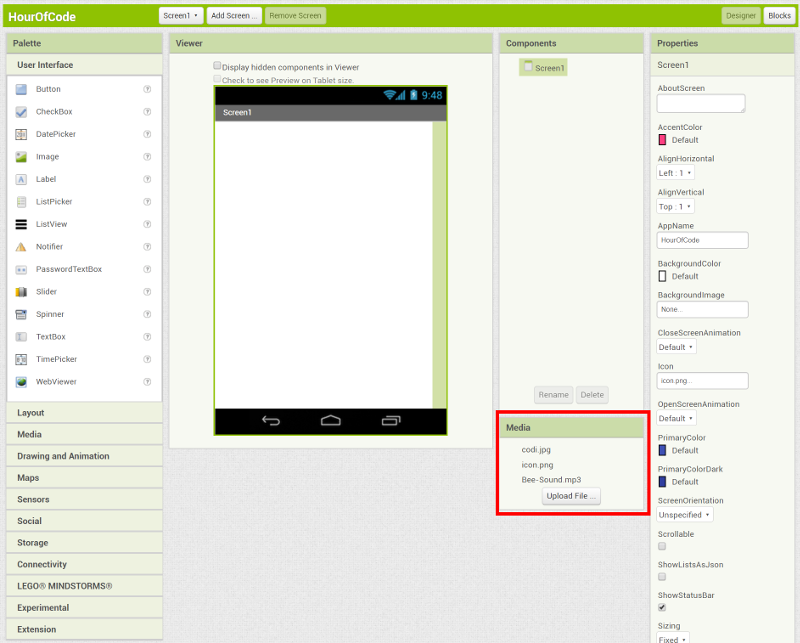
Note: If you do not have these files, you can download them here (and use the Upload File button to upload them into your app):
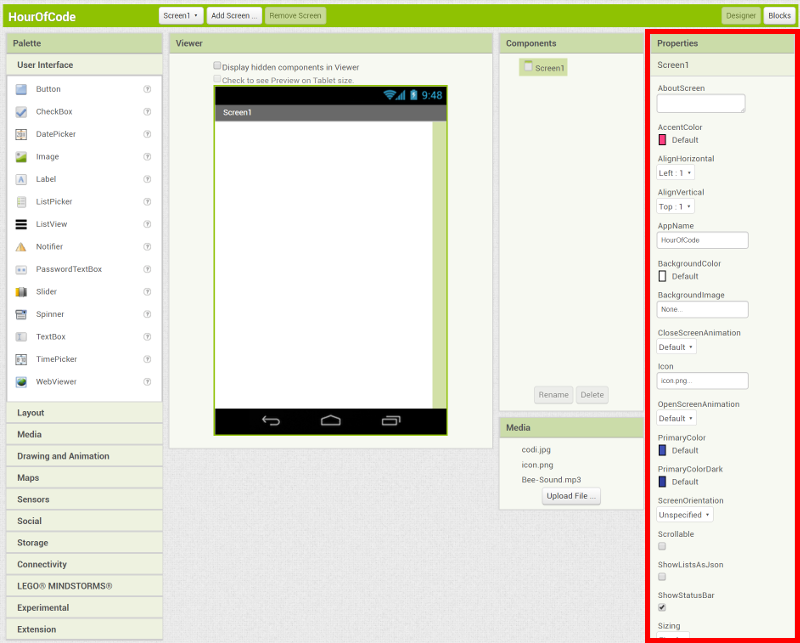
Finally, the Properties window allows you to view or change any of the properties (or characteristics) of the currently selected component.
Add Button
From the User Interface palette, drag in a Button , and drop it onto the Viewer.
Add Label
From the User Interface palette, drag in a Label , and drop it onto the Viewer, below the Button.

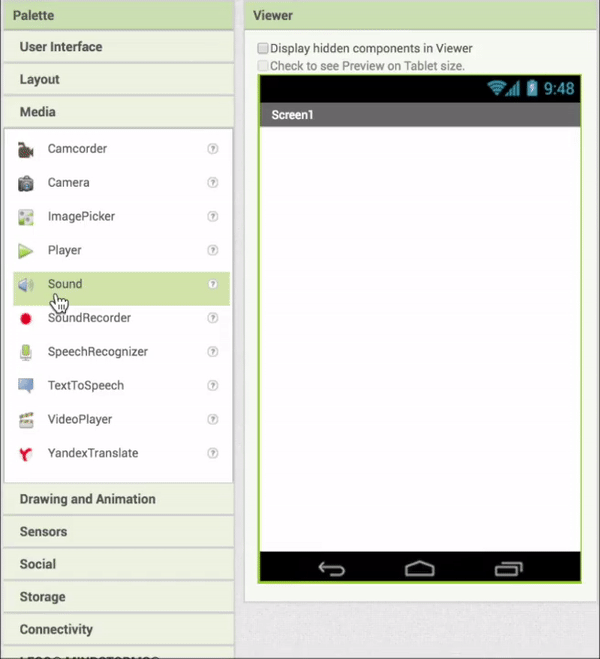
Add Sound
From the Media palette, drag in a Sound component, and drop it onto the Viewer.
Because this is a non-visible component, the Sound will drop to the bottom, rather than appearing on the Viewer screen itself.
Button Properties
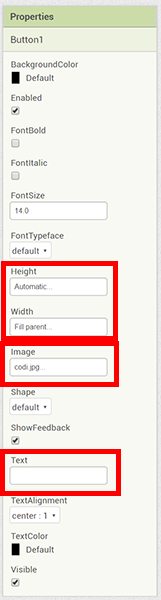
In the Components window, click on Button1. The Properties window for Button1 will appear.
Set the Height property to Automatic.
And set the Width property to Fill Parent. This will allow Codi to be a large square the width of your device's screen.
Set the Image property to codi.jpg.
Set the Text property to be empty. Just erase what's in the box.
Label Properties
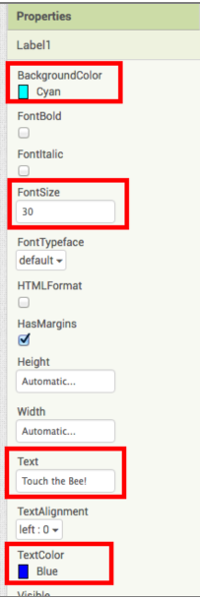
In the Components window, click on Label1. The Properties window for Label1 will appear.

Set the BackgroundColor property to any color you like.
And set the FontSize property to 30.
Set the Text property to "Touch the Bee!".
Set the TextColor property to any color you like, as long as it contrasts well with the BackgroundColor.
Connect and Run the App
Let's run our app to see what it looks like!
You have a few options:
- If you don't have a phone or tablet, you can run the app using an emulator in the browser. Click here to get instructions to set up the emulator if you haven't already set it up.
- If you have an Android phone or tablet, you can connect it by following these steps.
Sound Properties
Click on Sound1 in the Components pane. Then, in the Properties pane, under Source, select Bee-Sound.mp3.
Let's Write Some Code!
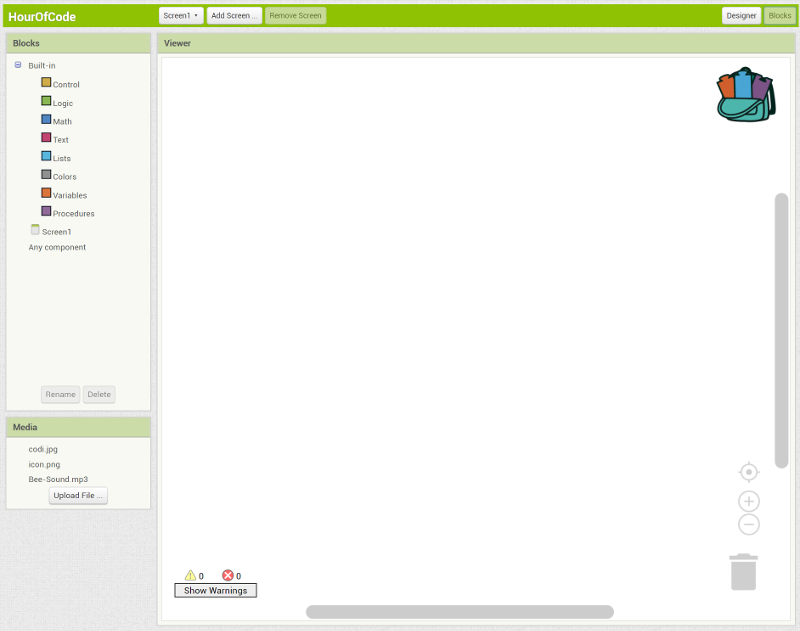
Switch to the Blocks Editor.
You'll see that there are three windows in the Blocks Editor - Blocks, Media, and Viewer.
The Media window is exactly the same as in the Designer, just located in a different place on the screen. It contains all uploaded media files for the app.
The Blocks window is like a palette of available blocks. There are three categories: Built-in blocks, component blocks, and Any Component blocks.
Notice that the component blocks list just the components that are in your app.
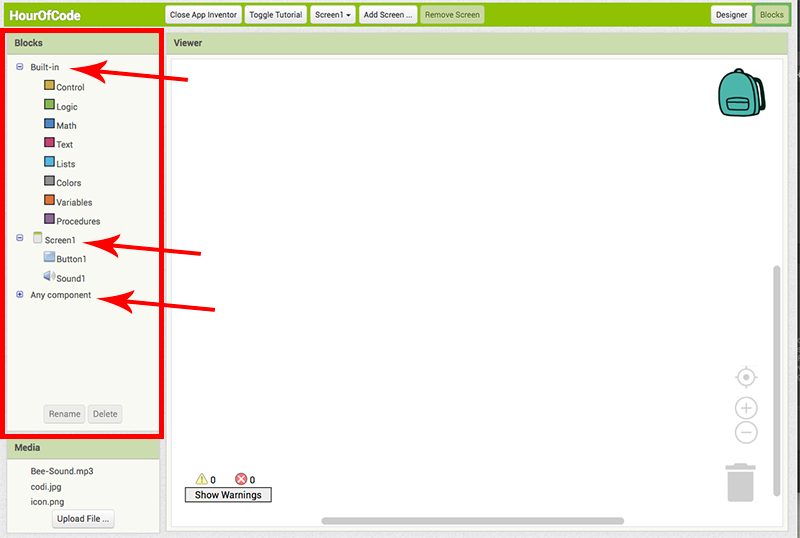
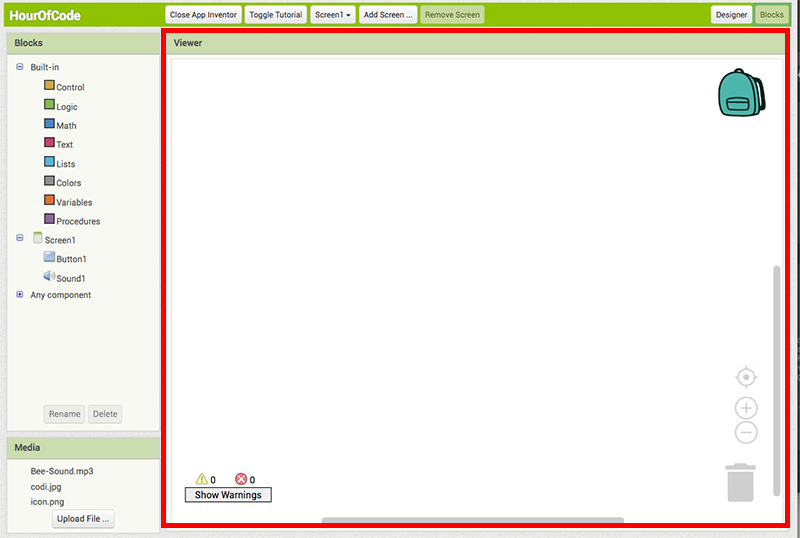
The Viewer is the area where you will drag your blocks and build the code for your app.
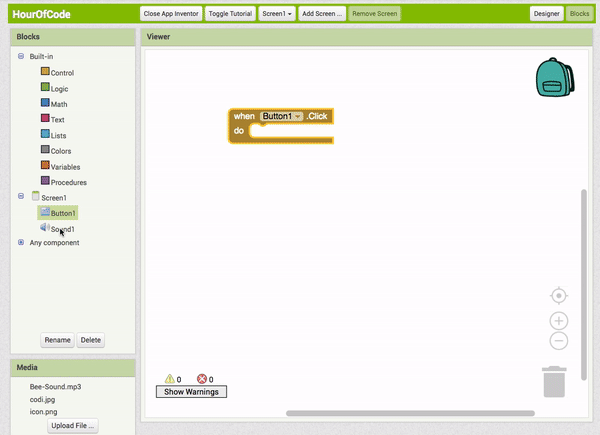
Add Button Click Event
From the Button1 drawer, drag in a when Button1.Click event block, and drop it onto the Viewer.
Add Sound
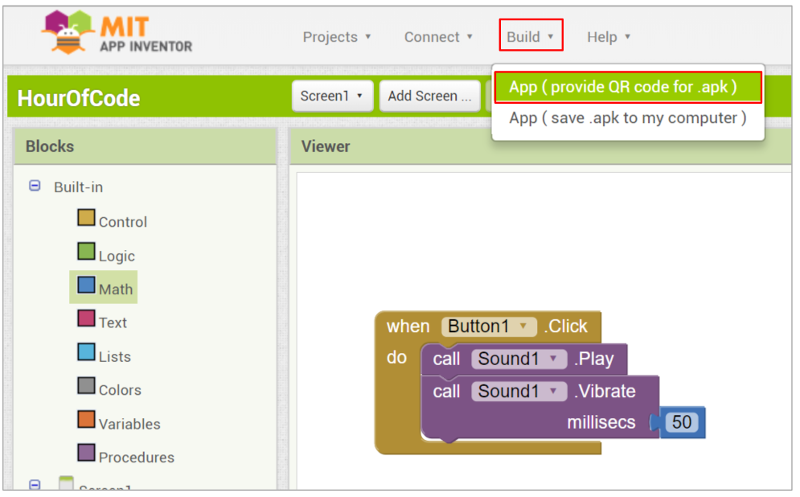
From the Sound1 drawer, drag in a call Sound1.Play block, and snap it into the Button Click block.
Also drag in a call Sound1.Vibrate block. Snap it in underneath the Play block.
Add Math Block
From the Math drawer, drag in a 0 block.
Snap it into the millisecs socket of the Vibrate block. Here, millisecs is a parameter: It needs to be told how long to vibrate for.
Change the 0 to 50.

Test your App!
Let's assume that you have connected your phone or tablet, or have the emulator running in your browser. If you haven't done so, click on the "Set up your Computer" tab above to set up your computer to test your app.
What happens when you click the picture of Codi in the emulator or on your device? Does it play a sound?
If the vibration does not work, your device may not support this function. The emulator does not support vibration.
Note: There is a known issue with the Sound component on some devices. If you see an "OS Error" and the sound does not play - or is very delayed in playing, go back into the Designer and try using a Player component (found under Media) instead of the Sound component.
Install App
If you are working with a device, and would like to install your app onto your device, navigate to the Build menu at the top of the screen, and click App (provide QR code for .apk). This will build your app and provide you a scannable QR code that will let you install your app onto your device!
You will need to first install a QR Scanner app on your phone or tablet, like the ZXing barcode scanner (freely available in Google Play).
Congratulations!
Hey, you've built your first app! You're an App Inventor!
Click here for your Hour of Code certificate!